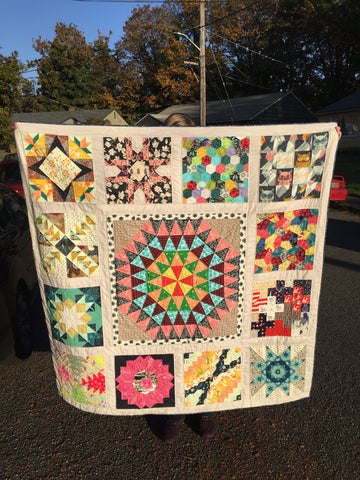
English Paper Piecing (EPP) is an old piecing technique that remains popular today. It uses paper templates made from cardstock or thin cardboard to form the fabric shapes. The fabric is wrapped around the template and then sewn together on the edges. This tutorial will demonstrate how to do regular EPP, and then curved EPP for those who want a challenge! I was first introduced to the technique thanks to Art Gallery Fabrics hosting a "English Paper Piecing Party" back in 2017, where participants were given a new block each month to create a throw sized quilt.

I had so much fun with it and loved the resulting quilt, which I totally pieced and quilted by hand. I'm also in progress on a La Passacaglia quilt (pattern by Willyne Hammerstein). I'm getting close to finishing, but need to keep at it!
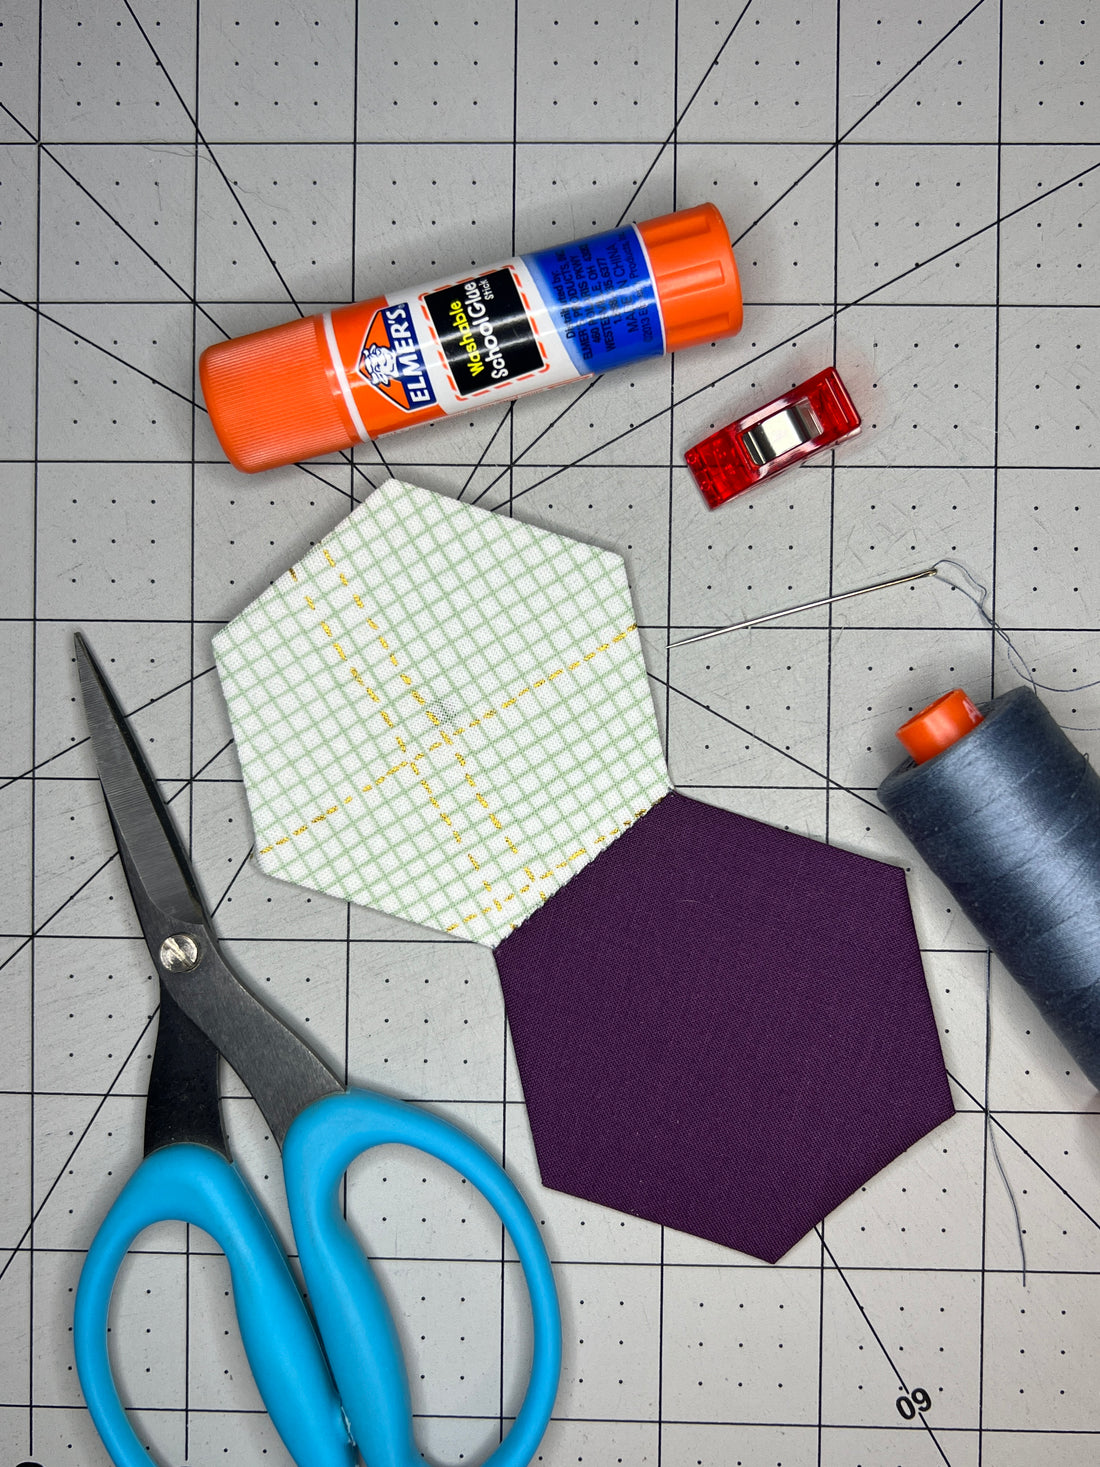
EPP has a relatively low barrier of entry. You don't need a sewing machine, but rather cardstock (or thin cardboard), a fabric glue pen (or Elmer's glue stick), thimble, and a needle & thread. Traditionally one would use thread to baste the fabric onto the templates, but I recommend the fabric glue pen method as it's much faster. This tutorial will teach the fabric glue method. You will find a video at the end of the instructions.
Step 1:
Print the templates at 100% size (not actual size) onto cardstock. If you don’t have cardstock, print the templates onto regular printer paper. Measure the 1" square to ensure the templates printed at the correct size. Cut out on the solid line. Trace onto thin cardboard (such as a cereal box or mailed advertisement).
Step 2:
Cut the templates out of the cardstock (or cardboard) directly on the solid or dashed line, whichever you prefer. The dashed line will make sure you add a ⅜" seam allowance if desired.
Step 3:
Place the template on the wrong side of the corresponding fabric. Trim the fabric to maintain an approximate ⅜" seam allowance around all sides.

Step 4:
Apply fabric glue on one edge of the template. Fold the fabric over the edge with glue applied. You want it to be taut, but not too tight. You need about 1/16" of an inch to be unglued so that you can sew through it without difficulty.


Step 5:
Apply glue to another edge of the exposed template. Again, tightly but not too tightly, fold the fabric over the glue and secure in place. Continue in this manner until all edges are glued down over the template. The dog ears can be left as-is or trimmed.


Step 6:
Once all templates have been covered in fabric, arrange them per the block design. Ensure that everything is to your liking.
Step 7:
Prepare your needle by creating a length of thread that is comfortable to hand sew with (common advice is the length of your forearm. but I usually stretch my arm out in its entirety). Thread your needle then tie a quilter’s knot at the end.
Step 8:
Place your templates right sides together and clip together. At the beginning of the seam, create an extra stitch for strength. Then, whip stitch through the fabric right at the edge of the glued template. You should be picking up 3-4 threads of fabric per side. Continue in this manner until the entire edge is stitched. Create an extra stitch at the end for strength. You can trim the thread here, or keep it intact if the next seam is directly adjacent. Note: this method will create visible stitches between the templates. If you don't want your stitches to be visible, read on for the curved EPP method.


Step 9:
Stitch all the pieces per your pattern or design.

Step 10:
Once your top is totally complete, remove all the paper templates before basting your quilt top. And that's it!
Curved EPP Technique:
When preparing your templates per Step 3 above, you may need to cut some snips in a concave curve. Keep the snip 3-4 threads away from the template.

Instead of arranging your templates right sides together like in Step 8, take two adjacent pieces and arrange them on a flat surface. Clip together at the sides. With your needle, sew through 3-4 threads at the backside of each template as shown. Whipstitch down the length of the entire seam. This technique is required for curved EPP, but you can use it for straight edge EPP and it and will create less visible stitches.

Here is a video of everything in the tutorial! The example used is for a curved EPP pattern, but the techniques are the same: VIDEO

