Have you tried making applique pieces using freezer paper? This method is similar to needle turn applique, except that you pre-fold the shapes so you don’t have to think about it while stitching. It also easily lends itself to using a machine to secure to your background fabric. I also find that freezer paper creates a more modern finish than raw edge applique, if that's something you desire. Follow this tutorial to learn how to create shapes using freezer paper. Once you make a couple shapes, you’ll get the hang of it and want to create all your applique shapes using this method.
To start, here is a video tutorial: VIDEO
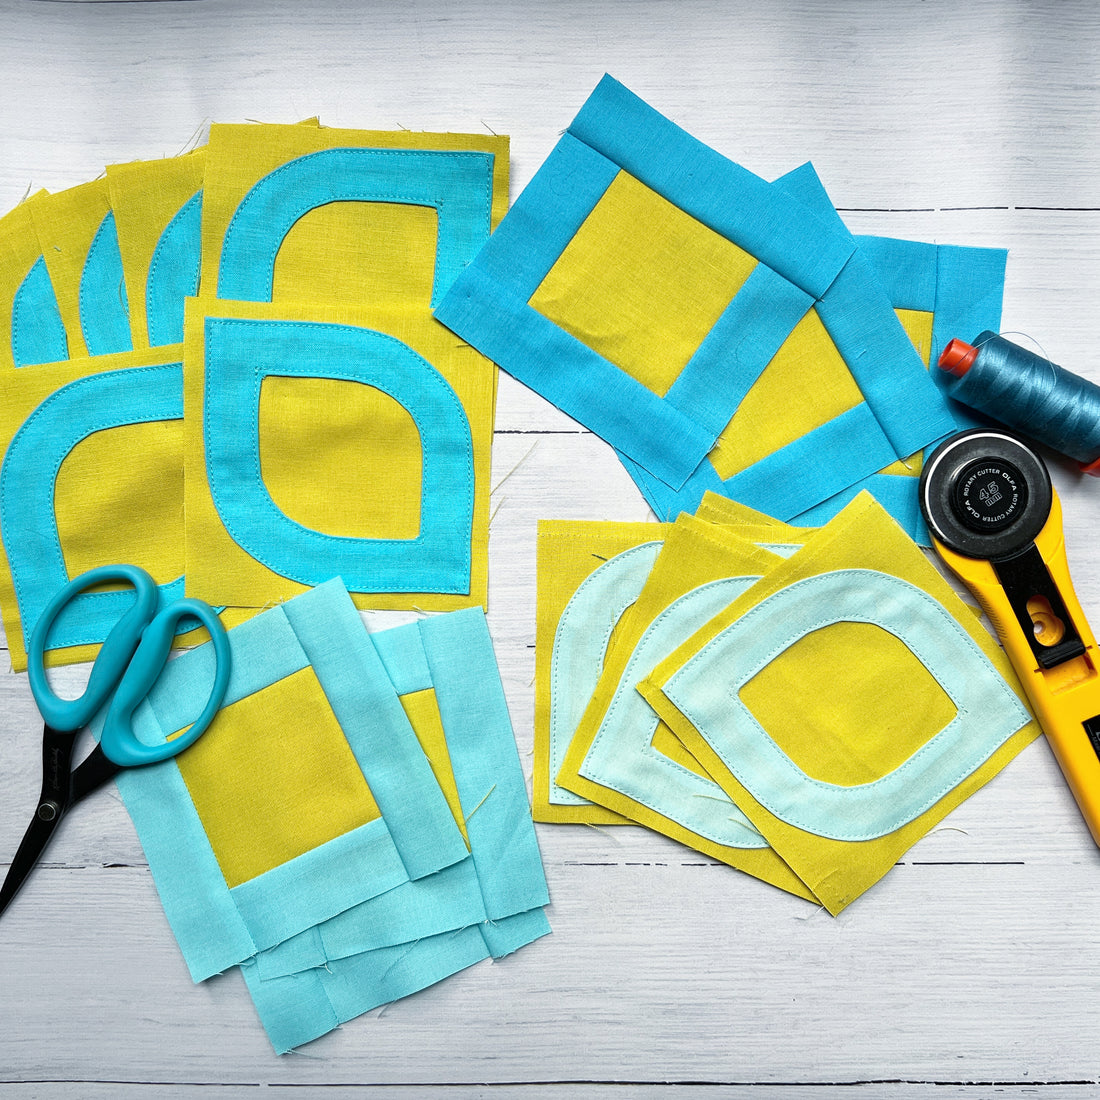
If you want to continue your applique journey, check out my first quilt pattern of 2024, Treetops! It’s actually a quilt that I designed in 2019, but I finally put pen to paper with an expanded version!
Supply List:
- Freezer paper
- Note: If you have an inkjet printer, you can purchase freezer paper that is designed for direct printing. This paper is not suitable for a laser printer.
- Pencil
- Scissors
- Rotary cutter
- Starch
- Iron
- Printer paper
- Pins, fabric glue stick, or applique glue
- Small paintbrush (optional)
- Small bowl (optional)
- Pointed wooden dowel (optional)
1. Print out (1) template at 100% size on regular printer paper. Measure the 1” or 2” square to ensure that it printed at the correct size. If you have printable freezer paper, print directly on the freezer paper and skip to Step 3.


2. Place the freezer paper shiny side down on the template. Trace the template’s solid line (without a seam allowance) onto the dull side of the freezer paper with a pencil. Make sure that the paper does not shift while tracing.

3. Trim the drawn shapes from the freezer paper with scissors or a rotary cutter, directly on the solid line.


4. Place the shiny side of the trimmed freezer paper shape onto the wrong side of the fabric. Make sure there is an adequate seam allowance around all edges of the freezer paper. Press with a hot iron. The freezer paper will temporarily adhere to the fabric. If you need to adjust the placement of the freezer paper, it can easily be removed.

5. Trim around the freezer paper shape with scissors or a rotary cutter, leaving an adequate seam allowance around all edges.


6. Create snips in the concave curves of the template, staying several threads away from the freezer paper.


7. Spray or dab starch or smoothing spray (I like to use flatter brand) onto the exposed edges of the fabric. Using a paint brush will help with more directed starch application. Note: I usually take the spray route because I find that my templates don’t last past 3 or 4 uses no matter how careful I am with starch application.


8. Use an iron to gently fold the exposed fabric over the freezer paper template to secure in place. Use the optional wooden dowel to manipulate the fabric if you don’t want to get your fingers too close to the hot iron. Fold and press all exposed fabric edges over the freezer paper template, being careful not to fold the template’s edge over with the fabric.


9. Once cooled, remove the freezer paper from the fabric. Create new freezer paper templates as needed. Optional: add fray check to the inside corners of the applique pieces to prevent fraying. I usually find that it's not an issue once I sew my applique pieces to the background fabric.


10. Use pins or glue to place your applique piece on the background fabric.
11. Blind stitch the piece by hand or use your machine to secure, backstitching at the beginning and end. Many machines have applique stitches available (test it on a scrap piece), but I often like to use simple straight stitches ⅛” away from the applique piece edge.
12. Give the stitched down applique piece a final press to smooth out.