

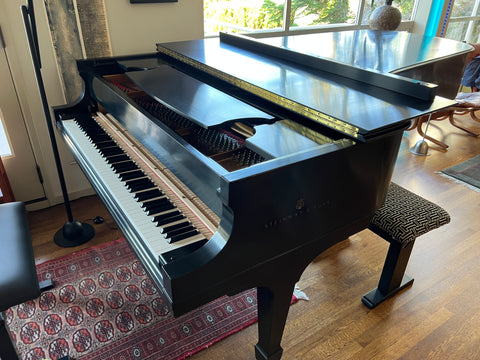
Last summer, I attended a Seattle Modern Quilt Guild meeting where there was an announcement that a local couple was seeking a quilter to create a quilted piano cover. I decided to reach out because it was something I never even thought about before. For our first meet up, I brought over my sketchbook, measuring tape, and my entire case of fabric swatches (I use a plastic photo organizer to keep all my swatches sorted my color). I discovered that the piano is an absolute unit, we’re talking concert grand piano (9 feet long!) We discussed their design aesthetic and what they’re looking for in their cover. A big requirement was UV resistance because the piano is set right next to a large window, and had just been refurbished after sustaining sun damage.
I went back home and mocked up a couple designs in EQ8 and on paper, using the colors they desired. They wanted something majority black so that the presence of the piano in the room didn’t demand extra attention, but with some small highlights of blue and green. I decided on a block based pattern that used two different blocks, rotated in a way to create a feeling of randomness. We settled on a design and I went to work estimating fabric requirements.
Since UV resistance was such a high priority and they had an appreciation for well crafted fabrics, I went to the Perennials Sutherland Seattle Studio. Perennials is a business-to-business fabric store and I had a blast selecting the swatches I was interested in. You can’t just say “I want 3 yards of the black” and they cut it on the spot. I received a quote for the fabrics I chose (3 different types/textures of black and 5 different blues and greens) and put down the required payment. The fabric arrived on my doorstep in a giant roll a little less than a week later.

I then dug into cutting the fabric. This stuff is pretty thick so it was a process to cut the pieces. I then created my block piecing assembly line! Pressing these fabrics was pretty tough… I had to use starch on every seam. I sewed all the blocks for the top together in the layout that I calculated would most efficiently cover the top of the piano.

After the top was basted (I had to go to a friend’s house for large enough floor space), I started big stitch hand quilting the top. At first I was worried that the fabrics would be too think and heavy to hand quilt, but I found it quite manageable and the result really beautiful. Hand quilting the top portion took the most time in the project- from November to March.

I then took the completed quilt back over to my clients’ house, and with a white pencil, traced the outline of the piano top onto the quilt. I also marked where the piano top’s seam hinged so that the cover could be folded back for easy piano key access. Back at home, I took a deep breath, then cut the quilt on my marked lines. I measured the perimeter of the new quilt and used the reserved quilt blocks to construct the skirt. I used my sewing machine to quilt the skirt to avoid doubling the amount of time I spent quilting this. The top is much more visible and the intended focal point. I then used extra highlight fabric to create hidden folds at the piano hinges. At all seams of the skirt, I used flat felled seams to create a nice finish.
Next, I attached the skirt quilt to the piano top quilt! This was quite the operation. It was such a heavy object to send through my sewing machine I had to be careful that nothing was pulling it as I sent it though the feed dogs. I then attached the strip of fabric I used to create a flat felled seam and used a blind stitch around the entire perimeter to sew it down. After that, I machine sewed on the binding! I was feeling pretty amazing at this point- the last thing to do was trim loose seams and lint roll. The day after I finished I delivered it to the clients! They were eager to have it since the Seattle Spring sun was started to stream through their windows again. My clients were so pleased with the final result! This was such an interesting project to take on, and I felt so honored to be the one constructing a protective cover for one of their most prized possessions.


So, what do you think? Are there any objects in your home that could benefit from a beautiful homemade quilted cover? I’m here to tell you that it’s possible. After constructing this custom piano cover, I’m pretty confident that I could cover anything with a quilt :)
4 comments
Amazing. Awesome job. It looks like they have a harpsichord too. Are you going to make a cover for that as well?
This is so cool to see and hear about. I remember this ‘opportunity’ being mentioned at our guild meeting. Glad the project went so well for you. It’s lovely!
Kathleen, I used 80/20 batting in black and cotton wide back for the backing. I was trying to keep the weight and thickness as low as possible!
This is amazing, and quite an undertaking!! That’s a lot of hand quilting through heavy fabric. I’m curious what kind of batting you used and what you used on the back of the quilt.