
Have you ever wanted to try Big Stitch Hand Quilting? It's such a fun technique to pick up, and goes much faster than you would think. I used this technique to quilt my Aperitif quilt, which is available as a free download here!
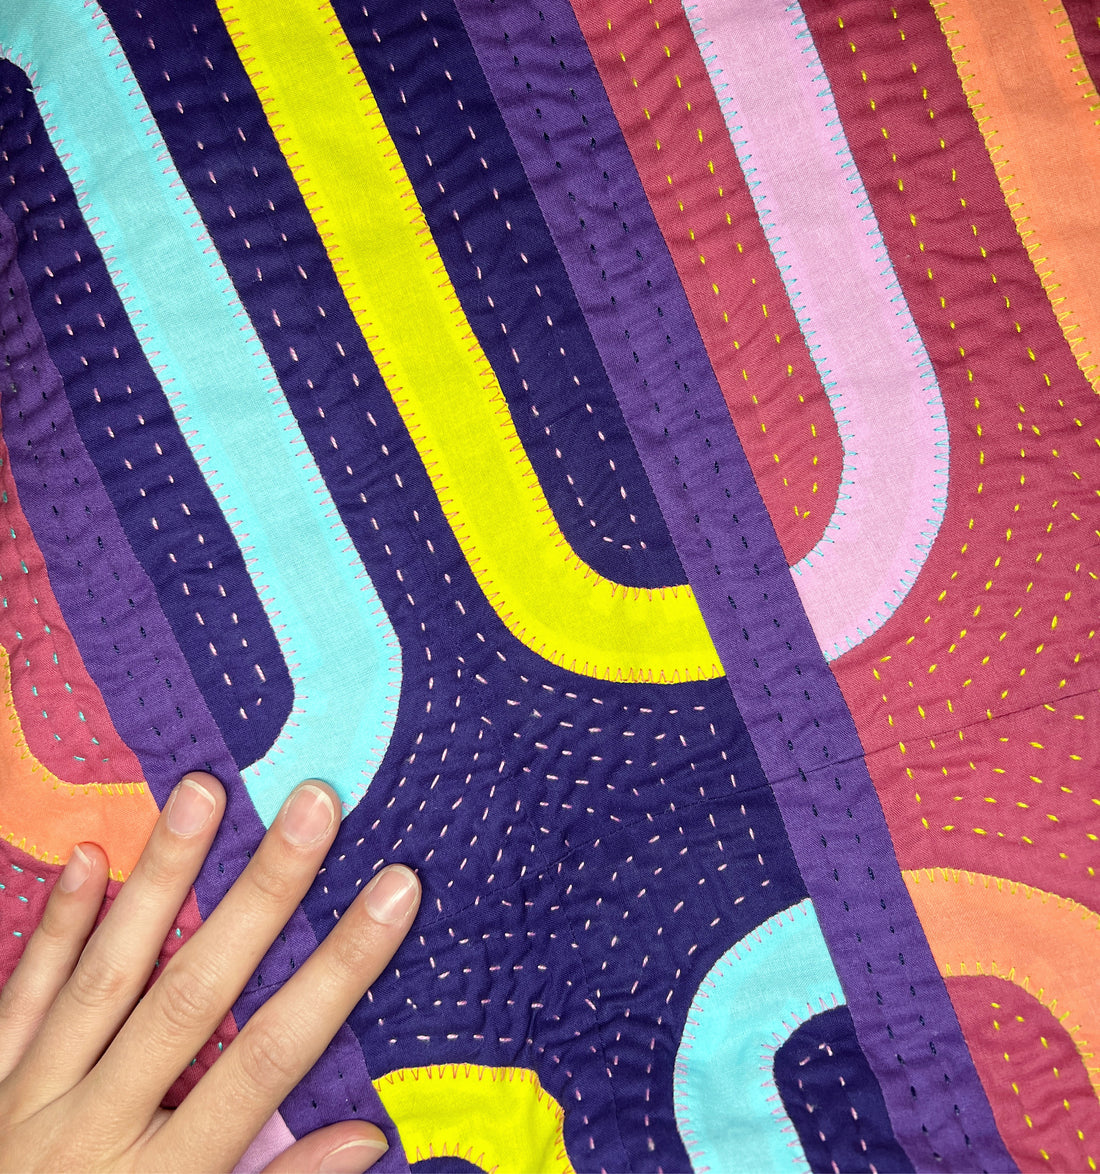
Big Stitch hand quilting is a quilting technique that has gained in popularity the past several years. The first times I quilted by hand I used 50wt thread, which is the traditional way to hand quilt (think Amish quilting and their perfect tiny stitches!) However, I tried using 8wt thread for the first time in 2020 to add texture to a wall hanging. It was displayed in QuiltCon 2021 which was a huge confidence boost to my skills. I love how visible the big stitches are, and that it goes faster than small stitch quilting.

The next big stitch handing quilting project I did was the custom grand piano cover I made! You can read more about creating the piano cover in my blog post on the topic.

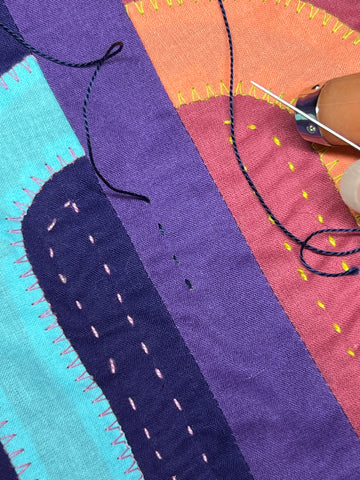
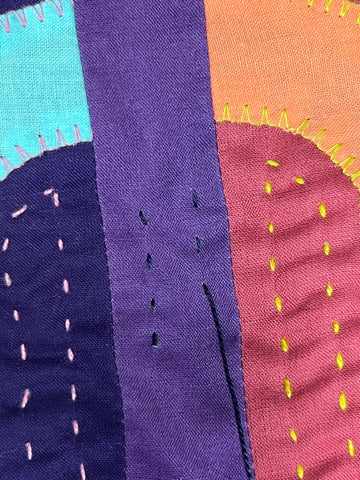
I find that adding big stitch hand quilting to my quilt adds so much dimension, texture, and playfulness. I decided to use big stitches to hand quilt my Aperitif quilt, which funnily enough I used my machine to attach the applique patches. Sometimes you cannot explain how the mind works. However, I think I was seeking to create a maximalist quilt, with bold colors and lots of texture. I used a decorative applique stitch for the patches so that the thread would be visible, and I love how it turned out. To further accentuate the design, I used big stitch hand quilting in four different colors. I’ve created a tutorial and curated my favorite tips below.
Big Stitch Hand Quilting Tutorial
Disclosure: This blog post contains affiliate links which may earn me a commission. I only include links for products I use and love.
Materials:
- 8 or 12wt thread. I like to use DMC or Wonderfil Perle Cotton.
- Needle with an eye large enough for the thread to pass through.
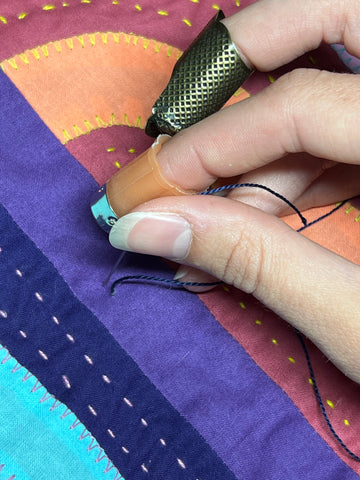
- Thimble. I use both a silicone thimble and a metal one with a ridge, and many people enjoy using leather thimbles. I love Clover's Silicone Thimble and their Metal Thimble. Read on for how I use them.
- Snips. My favorite are the Karen Kay Buckley Scissors.
- Optional: Quilting hoop
- Optional: Work light
- Optional: Thread gloss
- Optional: Fabric marker
Tutorial:
1. Prepare your quilt: Baste your completed quilt top with your chosen batting and backing as normal. Tip: With hand quilting, it’s important to consider how much piecing the backing fabric has. The more seams, the harder it will be to create consistent stitches. I recommend using backing with one long seam or wide back backing.
2. Make a quilting plan: Decide on how you want to quilt your quilt. If you want to do a cross hatch, I recommend using a Hera marker or other marking tool to create guidelines with a ruler. This will help keep your lines straight and evenly spaced. Hand quilting allows for some more freedom with curves and designs, so really let your creativity flow.
3. Create your quilting space: For me this is on the couch! I have a bright white Ott light over my left shoulder, and my supplies on the coffee table next to me (and probably coffee or wine depending on the time of day!) Some people like to use a quilting hoop. I don’t find this necessary because the 8wt thread has more surface area than 50wt thread, so the friction between it and the quilt sandwich prevents it from getting too tight and bunching things up. However, definitely use one if you feel more comfortable with it! Then, put on your favorite podcast or TV show and get stitching.
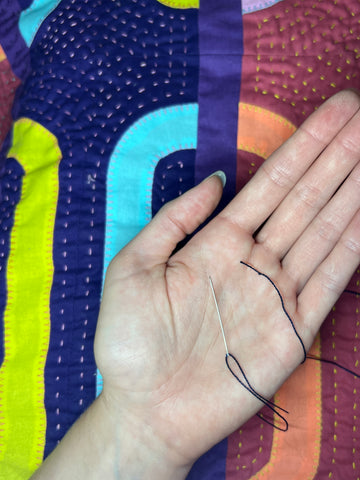
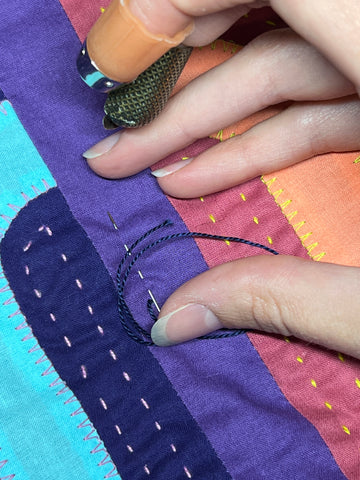
4. Prepping your thread: Unwind a length of thread that you feel most comfortable sewing with. For me, this is the length of my entire arm. Traditional advice is to use the length of your forearm, but use whatever works best. Thread your needle. Then, tie a single quilting knot at the end of your length of thread. Optional: Apply thread gloss at this time.
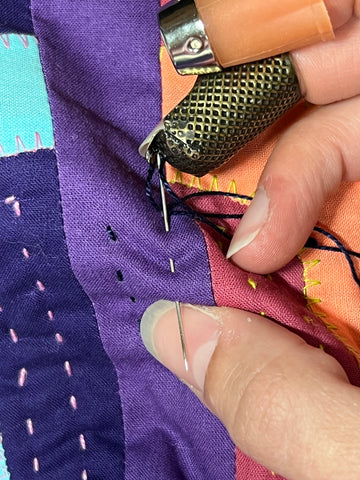
5. The first stitch: Insert your needle ½” to ¾” away from where you want your first stitch to appear, and go through and up to where you want to start. The needle should not go through the backing fabric. “Pop” the knot through the fabric to secure. Tip: The knot likes to go through the fabric as perpendicularly as possible, instead of sideways which can inadvertently pull the threads of the fabric. To help facilitate the perpendicular arrangement, I temporarily stick my needle right above the knot and lift up, creating a clearer path for the knot.
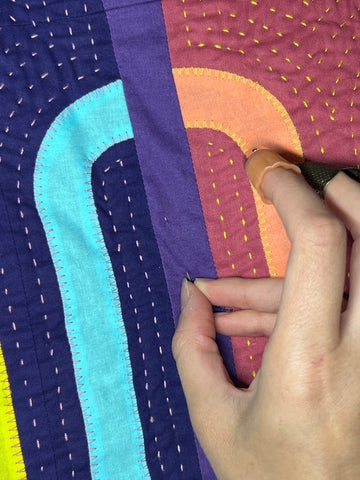
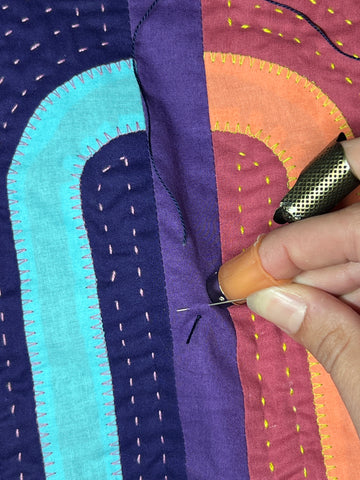
6. Stitching: Put your thimbles on! Insert your needle your desired stitch length away from where you started. Use your thumb (or whatever finger) to rock your needle through the entire quilt sandwich, striving to keep your stitches as consistent as possible. It takes a bit of practice to get the motions right. Soon it will become second nature. I usually create two or three stitches per needle insertion. Pull the needle though, taking care not to pull the thread too tight. Tip: I like to use a silicone needle on my pointer finger for needle gripping, and a metal one with a nail ridge on my middle finger. I use this one to propel the needle through the fabric as I quilt toward me. I use my thumbnail to quilt away from me, but if your thumbnail is not long enough I recommend putting a metal or leather thimble on your thumb.
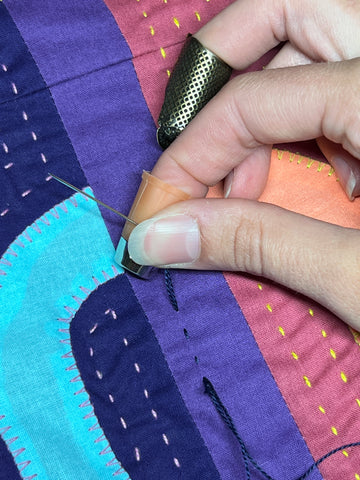
7. Continue to stitch in this manner. I stitch with both my thumbnail and my middle finger to avoid having to move my quilt around so much. However, if you feel more comfortable with one finger over another, rearrange your quilt as needed to avoid frustration or discomfort.
8. Ending a thread: When you have about 4 inches left of thread, tie one quilting knot at the base of the thread, as close to the quilt as possible. Insert your needle one stitch length away from where the needle last emerged, taking care not to go all the way through the batting. Again, “pop” the thread through the fabric, keeping it as perpendicular as possible like before to prevent thread pulling. Trim the thread. Video - Ending the Thread
9. Repeat steps 4 through 8 until your entire quilt is quilted to your satisfaction! Video - The Entire Stitching Motion
I hope that you'll give big stitch hand quilting a try! It creates such a delightful, touchable quilt.
-Julia
2 comments
I love the idea of big stitching and have tried on a few quilts. The front always looks neat and tidy but the back of the quilt isn’t so much! Stitches aren’t as neat or uniform like the front.
I love the idea of big stitching. I have done a few quilts this way. The front always looks good but on the back of the quilt my stitches always look a bit untidy, different length etc